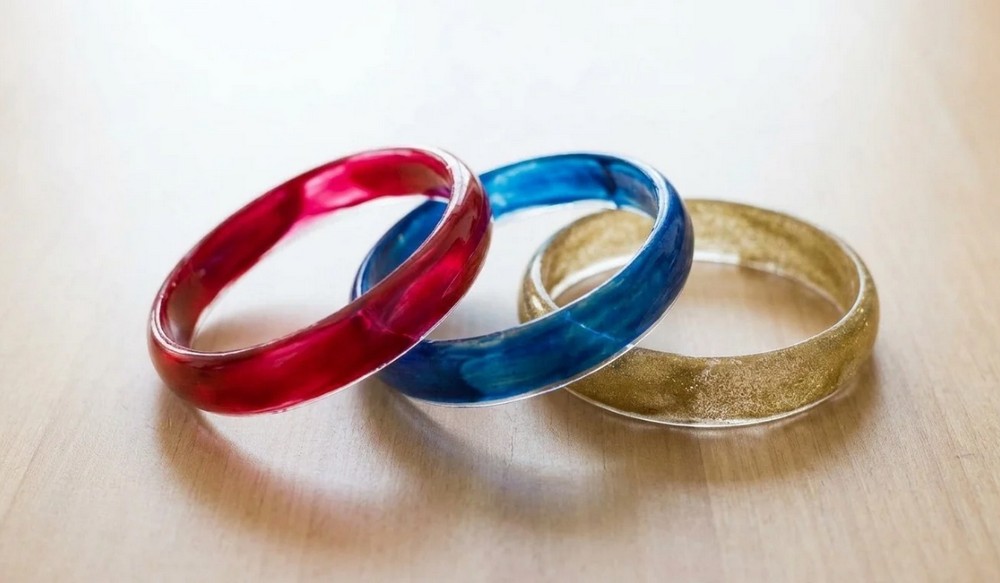
How to DIY a Beautiful Bracelet Idea from a Plastic Bottle
Have you ever thought about turning an empty plastic bottle into a beautiful piece of jewelry? With a little creativity and a few simple materials, you can transform an ordinary plastic bottle into a stylish handmade DIY plastic bottle bracelet. This easy and budget-friendly craft allows you to reuse plastic materials instead of throwing them away.
DIY Plastic Bottle Bracelet:
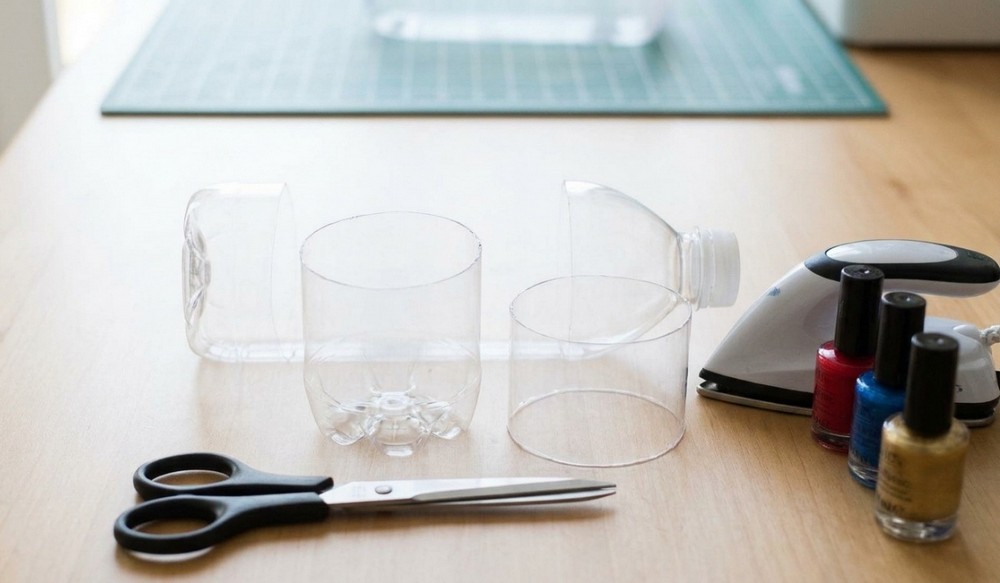
The best part about making a plastic bottle bracelet is that you do not need expensive decorations or complicated crafting supplies. You can create a beautiful accessory using a plastic bottle, scissors, an iron for shaping the edges, and your favorite nail paint colors. Nail paint gives your handmade bracelet a colorful, glossy finish and allows you to experiment with different shades and designs.
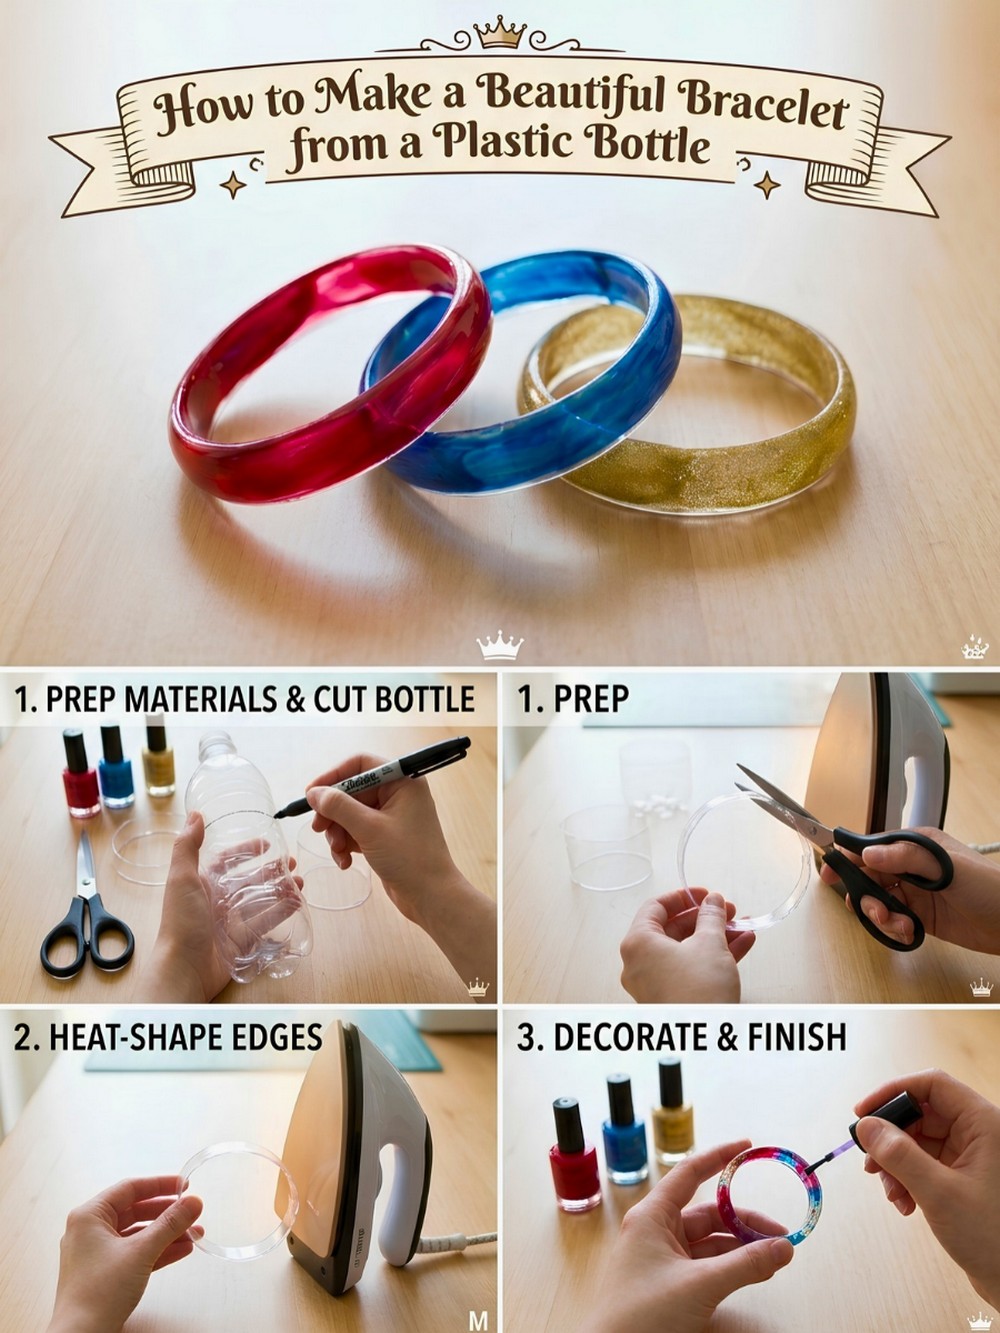
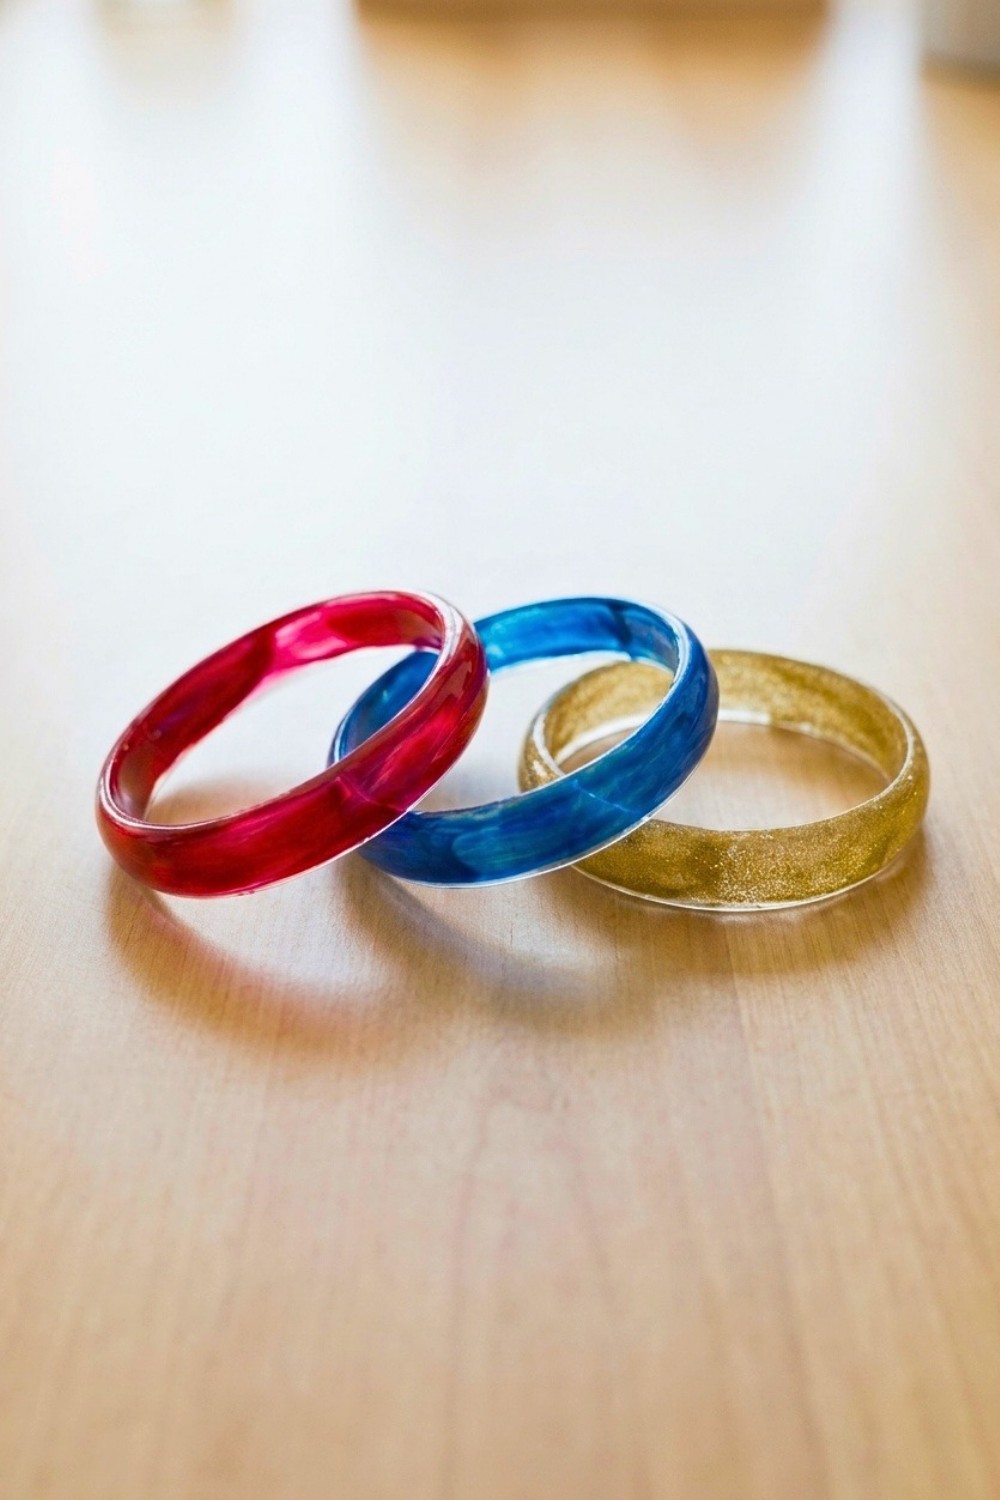
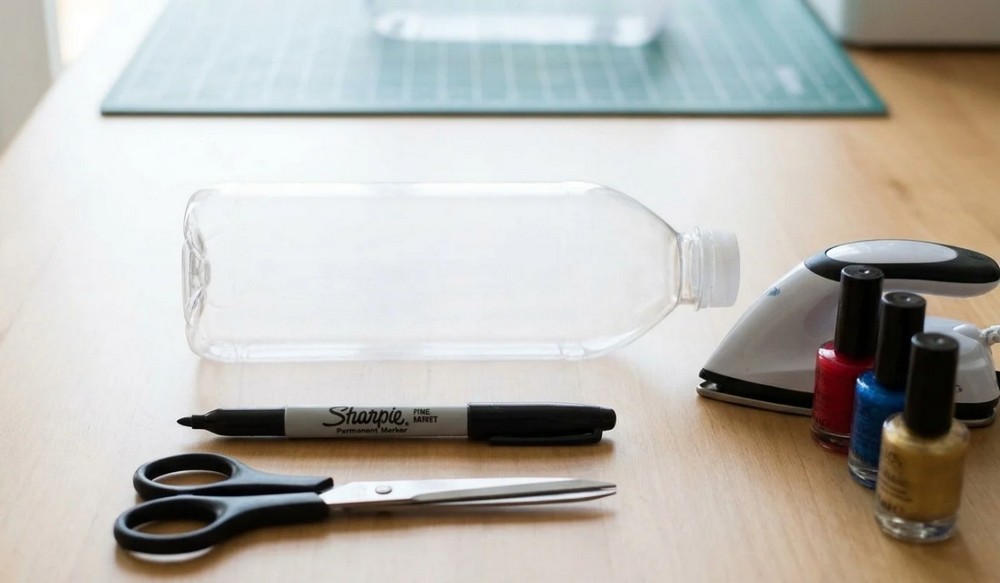
Materials Needed to Make a Plastic Bottle Bracelet
Before starting, collect all the necessary materials and prepare a clean working area. Most of these supplies are easily available at home, making this project affordable and beginner-friendly.
Here is the list of materials you will need:
-
Empty Plastic Bottle: Choose a clean plastic water or soft-drink bottle with a smooth surface. A transparent bottle works especially well because it is easy to cut and paint.
-
Sharp Scissors: Use scissors to cut the plastic bottle into a circular bracelet shape.
-
Marker: A marker helps you draw straight cutting lines around the bottle.
-
Measuring Tape or Ruler: Use it to measure the bracelet width and keep the plastic strip even.
-
Iron: An iron can be used in your craft process to help shape the bracelet edges, but it must not touch the plastic directly.
-
Nail Paint: Choose your favorite nail paint shades to give the bracelet a colorful and attractive appearance.
-
Craft Stick or Heat-Safe Tool: Useful for handling materials during the finishing process without touching hot surfaces.
-
Protective Gloves: These help protect your hands while handling prepared materials and working with hot equipment.
Important safety note: Heating plastic can release harmful fumes and cause burns. Do not press a household iron directly against the plastic. Use an iron only on a separate protective fabric or heat-safe surface when preparing a suitable edge covering, with adult supervision and good ventilation.
Step-by-Step Instructions for Making a Bracelet from a Plastic Bottle
Follow these simple steps to turn an ordinary plastic bottle into a colorful handmade bracelet.
Step 1: Clean and Prepare the Plastic Bottle
Start by selecting an empty plastic bottle for your bracelet. Remove its cap and label, then wash it thoroughly with soap and water to remove dirt, sticky residue, and leftover liquid.
Once the bottle is clean, allow it to dry completely. A dry surface makes it easier to mark, cut, and paint the plastic.
Place the bottle on a clean working surface and identify its smooth middle section. This part is generally the best choice because it provides a more even surface for creating your bracelet.
Tip: Choose a bottle without deep grooves or uneven shapes to achieve a neat and attractive bracelet.
Step 2: Measure and Mark the Bracelet
Now decide how wide you want your bracelet to be. A width of approximately 2–3 cm is a good option for a simple and stylish design.
Take your measuring tape or ruler and measure the middle section of the bottle. Use a marker to draw two parallel lines around the bottle. The space between these lines will determine the width of your bracelet.
Try to keep both lines straight and evenly spaced. This will help you create a bracelet with a balanced shape.
Before cutting, check your measurements one more time to make sure the bracelet will be comfortable to wear.
Important: Take your time while marking the bottle because uneven cutting lines can affect the final appearance.
Step 3: Cut the Plastic Bottle into a Bracelet Ring
After marking the bottle, carefully cut along the lines to separate the plastic strip. Use sharp scissors and work slowly to maintain an even shape.
Once you have cut the plastic, you should have a circular ring that can be used as the base of your bracelet.
Check the size by measuring the ring against your wrist. It should be slightly loose enough to slide over your hand without feeling uncomfortable.
If the ring is too large, carefully adjust its size. If it is too small, use another section of the bottle rather than forcing it onto your wrist.
Tip: Keep the cutting lines as smooth and even as possible to give your bracelet a professional-looking shape.
Step 4: Prepare and Finish the Bracelet Edges
After cutting the plastic ring, inspect both edges carefully. They may have sharp or uneven areas that need attention before you wear the bracelet.
For a clean finish, make sure the edges are properly covered or professionally finished using a suitable pre-made smooth plastic ring. Avoid leaving exposed sharp edges.
If you are using an iron as part of your finishing process, use it only to prepare a separate protective material, never to heat or press the plastic itself.
Important: Never place the plastic ring directly under a household iron. Direct heat can melt the plastic, release harmful fumes, and create dangerous sharp edges. Allow all prepared materials to cool completely before continuing.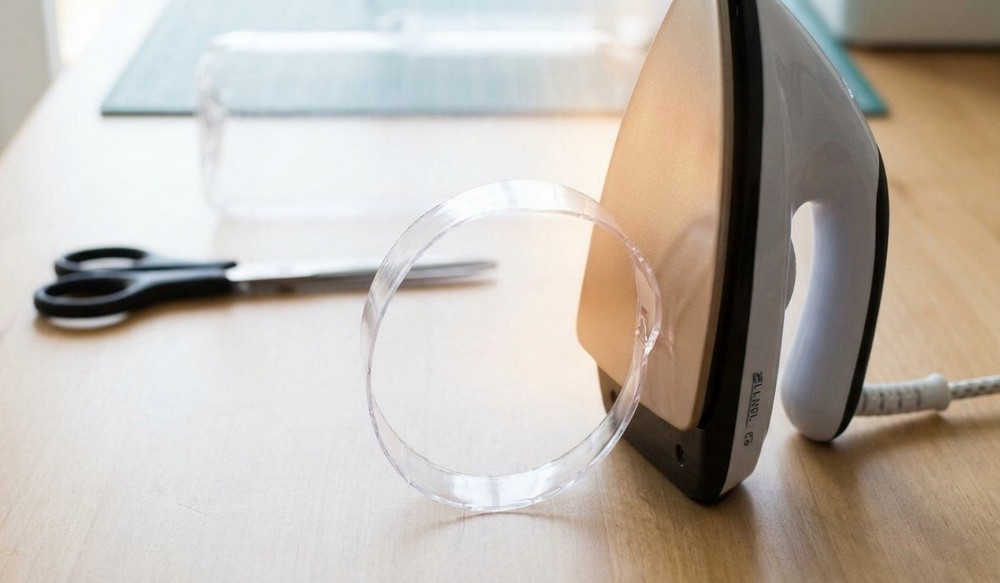
Step 5: Prepare the Bracelet for Painting
Once the bracelet base is ready and its edges are safe, prepare it for painting.
Wipe the surface gently with a clean, dry cloth to remove dust or dirt. Make sure the plastic is completely dry before applying nail paint.
Choose a nail paint color that matches your personal style. You can use a single shade for a simple design or combine different colors to create something more eye-catching.
For example, pink, red, blue, purple, golden, and silver shades can all create attractive handmade bracelet designs.
Tip: Plan your color combination before painting so that the final design looks balanced.
Step 6: Apply the First Coat of Nail Paint
Now comes the most exciting part of the project!
Take your selected nail paint and begin applying a thin, even coat to the outside surface of the bracelet. Move the brush slowly around the ring to cover the plastic without creating thick patches.
Try to keep your brush strokes in the same direction for a smoother appearance.
Once the first coat is complete, place the bracelet on a clean surface and allow it to dry completely.
Avoid touching the painted surface while it is wet because fingerprints can affect the final finish.
Important: Always apply nail paint in a well-ventilated area and keep it away from flames or heat sources.
Step 7: Apply a Second Coat for a Beautiful Finish
After the first coat has dried, inspect the bracelet to see whether the color looks even.
If the plastic is still visible through the paint or the color appears too light, apply a second thin coat.
Use gentle brush strokes and cover any areas that need additional color. A second coat can make the bracelet look brighter, richer, and more attractive.
Allow the second coat to dry completely before handling the bracelet.
Tip: Two thin coats usually give a neater finish than one thick coat.
Step 8: Create Your Own Nail Paint Design
Once the base color is completely dry, you can add a little creativity to your bracelet.
You can use another nail paint shade to create simple decorative patterns. Try small dots, thin lines, colorful stripes, or geometric shapes.
For example:
-
Create white dots over a pink base for a cute polka-dot design.
-
Add golden lines over a black base for an elegant appearance.
-
Combine blue and white shades for a fresh, modern look.
-
Use different pastel shades for a soft and colorful bracelet.
You do not need complicated painting skills. Even simple patterns can make your handmade bracelet look unique.
Step 9: Let the Bracelet Dry and Check the Final Result
After completing the painting, leave your bracelet on a clean surface until all the nail paint is completely dry.
Avoid touching or wearing it too early because wet nail paint can smudge or leave fingerprints.
Once dry, inspect the bracelet carefully. Check whether the color is even, the edges are smooth, and the overall shape is comfortable.
Make sure there are no exposed sharp plastic areas. Your bracelet is now ready to show off!
Useful Tips for Making a Beautiful Plastic Bottle Bracelet
Here are some helpful tips to make your DIY bracelet more attractive and easier to create.
1. Choose a Suitable Plastic Bottle
Use a clean bottle with smooth, flexible sides. This will help you achieve a better bracelet shape.
2. Measure Before Cutting
Always measure the width and size of your bracelet before cutting. This prevents unnecessary mistakes and helps create an even shape.
3. Choose Attractive Nail Paint Colors
Experiment with different color combinations. Metallic, pastel, and bright shades can all give your bracelet a different appearance.
4. Apply Thin Coats of Nail Paint
Avoid applying too much nail paint at once. Thin coats dry more evenly and help prevent messy brush marks.
5. Allow Enough Drying Time
Let each coat dry completely before applying another one. This will help you achieve a smoother and more polished finish.
6. Pay Attention to Safety
Never iron plastic directly or heat it to shape its edges. Work in a ventilated area when using nail paint and keep hot equipment away from children.
Conclusion
Making a DIY bracelet from a plastic bottle is a fun, affordable, and creative way to turn an everyday household item into a beautiful handmade accessory. With a few basic materials, some colorful nail paint, and a little imagination, you can create a bracelet that reflects your personal style.
This project is that you can experiment with different nail paint shades, patterns, and color combinations to make every bracelet look different. You do not need expensive jewelry supplies or advanced crafting skills to get started.
So, the next time you have an empty plastic bottle at home, consider giving it a creative new purpose. Try this simple DIY project, explore your favorite colors, and enjoy making your own unique plastic bottle bracelet!